Managing Users and Roles
All of your user and role management can be completed using the Administration interface.
Creating Roles
Log into Kinetica with an administration account.
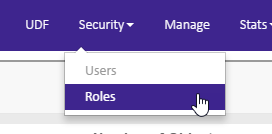
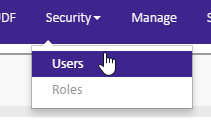
From the Security menu, click Users.
Click New.
Type a name for the role into the Role field.
Select a system-level permission as necessary from the System Level Permission drop-down menu.
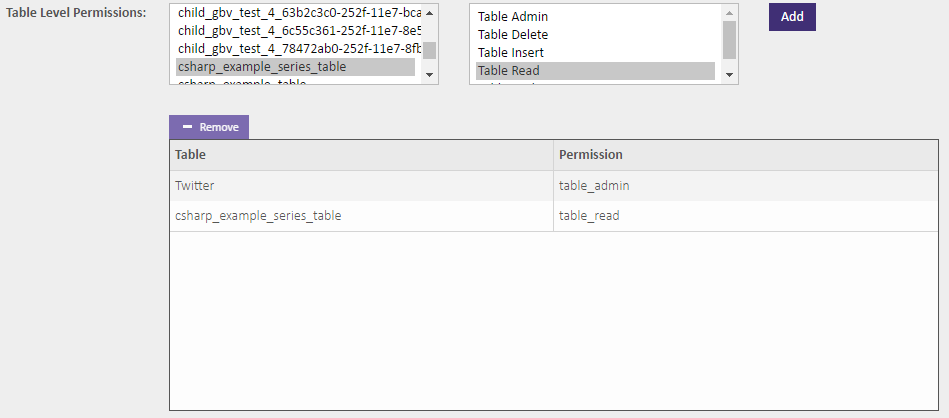
From the Table Level Permissions section, assign table-level permissions as necessary by selecting a table in the left list and a permission in the right list and then clicking Add. The permission-to-table association will be displayed below the selection boxes, and the Effective Permissions table will be updated accordingly. Note that the Table Admin permission allows the user to delete, insert, read, and update the table. If you need to remove an added tabel-level permission, select a given permission and then click - Remove.
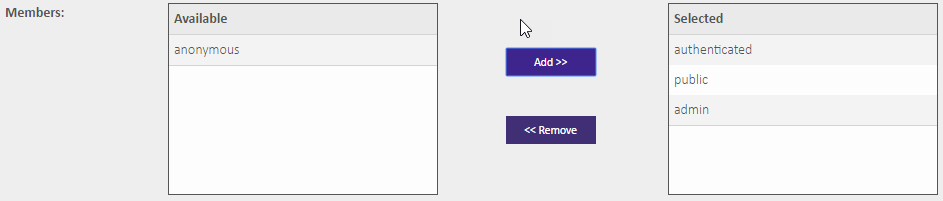
In the Members section, add members (users and/or roles) to a role by selecting an item in the Available list and clicking Add >>. The Selected list will get updated with that user or role accordingly. If you need to remove a selected member, select a given member and then click << Remove.
Click Create.
Creating Users
Log into Kinetica with an administration account.
From the Security menu, click Users.
Click New.
Select the type of Authentication. It's important to note that External users are authenticated using an LDAP server, so the username has to be duplicated in Kinetica but with an @ prepended, e.g., @user1. More information on the authentication types can be found on Security Concepts.
Type the username into the User field and the password into the Password field (passwords are required for Internal users only). Type the password again in the Confirm Password field.
Add or remove selected roles as necessary in the Member of Roles section:
- Add: Click a role in the Available Roles list and then click Add >>.
- Remove: Click a role in the Selected Roles list and then click << Remove.
Select a system-level permission as necessary from the System Level Permission drop-down menu.
From the Table Level Permissions section, assign table-level permissions as necessary by selecting a table in the left list and a permission in the right list and then clicking Add. The permission-to-table association will be displayed below the selection boxes, and the Effective Permissions table will be updated accordingly. Note that the Table Admin permission allows the user to delete, insert, read, and update the table.
Click Create.
Editing User Permissions
Log into Kinetica with an administration account.
From the Security menu, click Users.
From the table of users, select a user you want to edit. The Edit button is now enabled.
Click Edit.
Add or remove selected roles as necessary in the Member of Roles section:
- Add: Click a role in the Available Roles list and then click Add >>.
- Remove: Click a role in the Selected Roles list and then click << Remove.
Update the user's system level permission by selecting a new option from the System Level Permission drop-down menu.
From the Table Level Permissions section, assign table-level permissions as necessary by selecting a table in the left list and a permission in the right list and then clicking Add.
Also from the Table Level Permissions section, remove table-level permissions by selecting a given permission and then clicking - Remove.
Click Save.